Le traduzioni sono generate tramite traduzione automatica. In caso di conflitto tra il contenuto di una traduzione e la versione originale in Inglese, quest'ultima prevarrà.
Creazione di funzioni Lambda durevoli
Per iniziare a usare le funzioni durevoli Lambda, usa la console Lambda per creare una funzione durevole. In pochi minuti, puoi creare e implementare una funzione durevole che utilizza passaggi e attese per dimostrare l'esecuzione basata su checkpoint.
Mentre svolgi il tutorial, imparerai i concetti fondamentali delle funzioni durevoli, come usare l'DurableContextoggetto, creare checkpoint con passaggi e mettere in pausa l'esecuzione con attese. Imparerai anche come funziona il replay quando la funzione riprende dopo un'attesa.
Per semplificare le cose, questo tutorial mostra come creare una funzione usando Python o Node.js il runtime. Con questi linguaggi interpretati, puoi modificare il codice della funzione direttamente nell'editor del codice integrato della console.
Nota
Le funzioni durevoli attualmente supportano i runtime Python, Node.js (JavaScript/TypeScript) e Java, oltre alle immagini dei contenitori (OCI). Per un elenco completo delle versioni di runtime supportate e delle opzioni relative alle immagini dei contenitori, consultate Runtime supportati per funzioni durevoli. Per ulteriori informazioni sull'utilizzo delle immagini dei container con Lambda, consulta Creazione di immagini di container Lambda nella Lambda Developer Guide.
Suggerimento
Per scoprire come creare soluzioni serverless, consulta la Guida allo sviluppo serverless.
Crea una funzione Lambda durevole con la console
In questo esempio, la tua funzione duratura elabora un ordine attraverso più passaggi con checkpoint automatico. La funzione accetta un oggetto JSON contenente un ID dell'ordine, convalida l'ordine, elabora il pagamento e conferma l'ordine. Ogni passaggio viene controllato automaticamente, quindi se la funzione viene interrotta, riprende dall'ultimo passaggio completato.
La funzione dimostra anche un'operazione di attesa, che sospende l'esecuzione per un breve periodo per simulare l'attesa di una conferma esterna.
Per creare una funzione duratura con la console
Aprire la pagina Funzioni
della console Lambda. -
Scegli Crea funzione.
-
Scegli Crea da zero.
-
Nel riquadro Informazioni base, per Nome funzione inserisci
myDurableFunction -
Per Runtime, scegli Node.js 24 o Python 3.14.
-
Seleziona Abilita esecuzione duratura.
Lambda crea una funzione durevole con un ruolo di esecuzione che include le autorizzazioni per le operazioni di checkpoint (e). lambda:CheckpointDurableExecution lambda:GetDurableExecutionState
Nota
I runtime Lambda includono l'SDK Durable Execution, che consente di testare funzioni durevoli senza dipendenze dai pacchetti. Tuttavia, consigliamo di includere l'SDK nel pacchetto di distribuzione per la produzione. Ciò garantisce la coerenza delle versioni ed evita potenziali aggiornamenti di runtime che potrebbero influire sulla funzionalità.
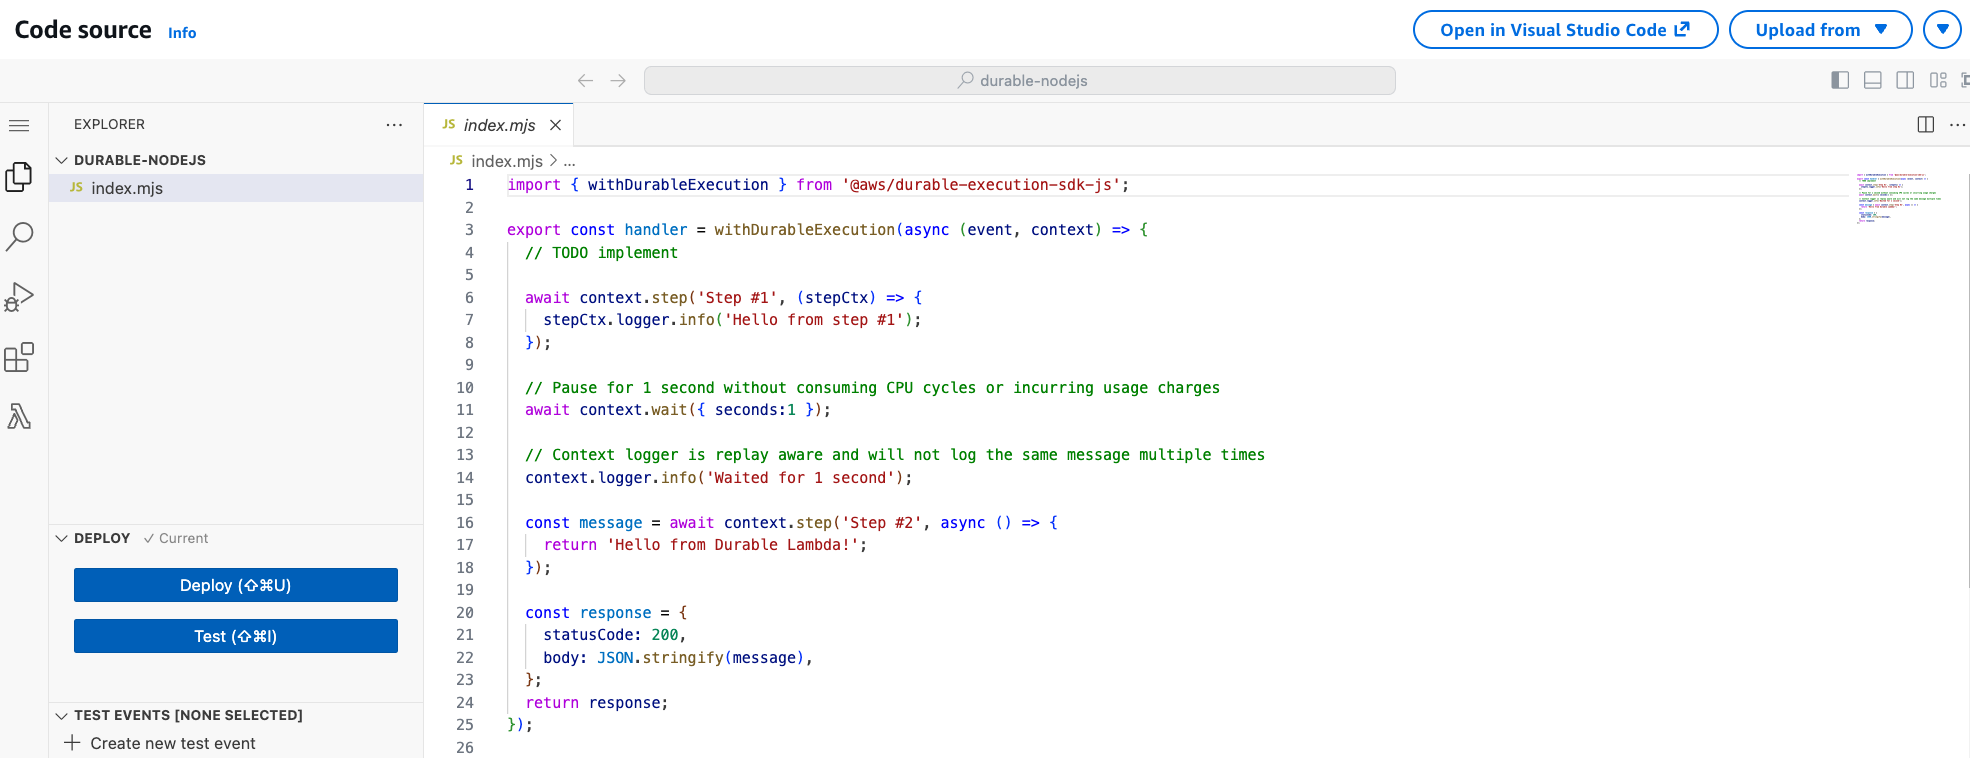
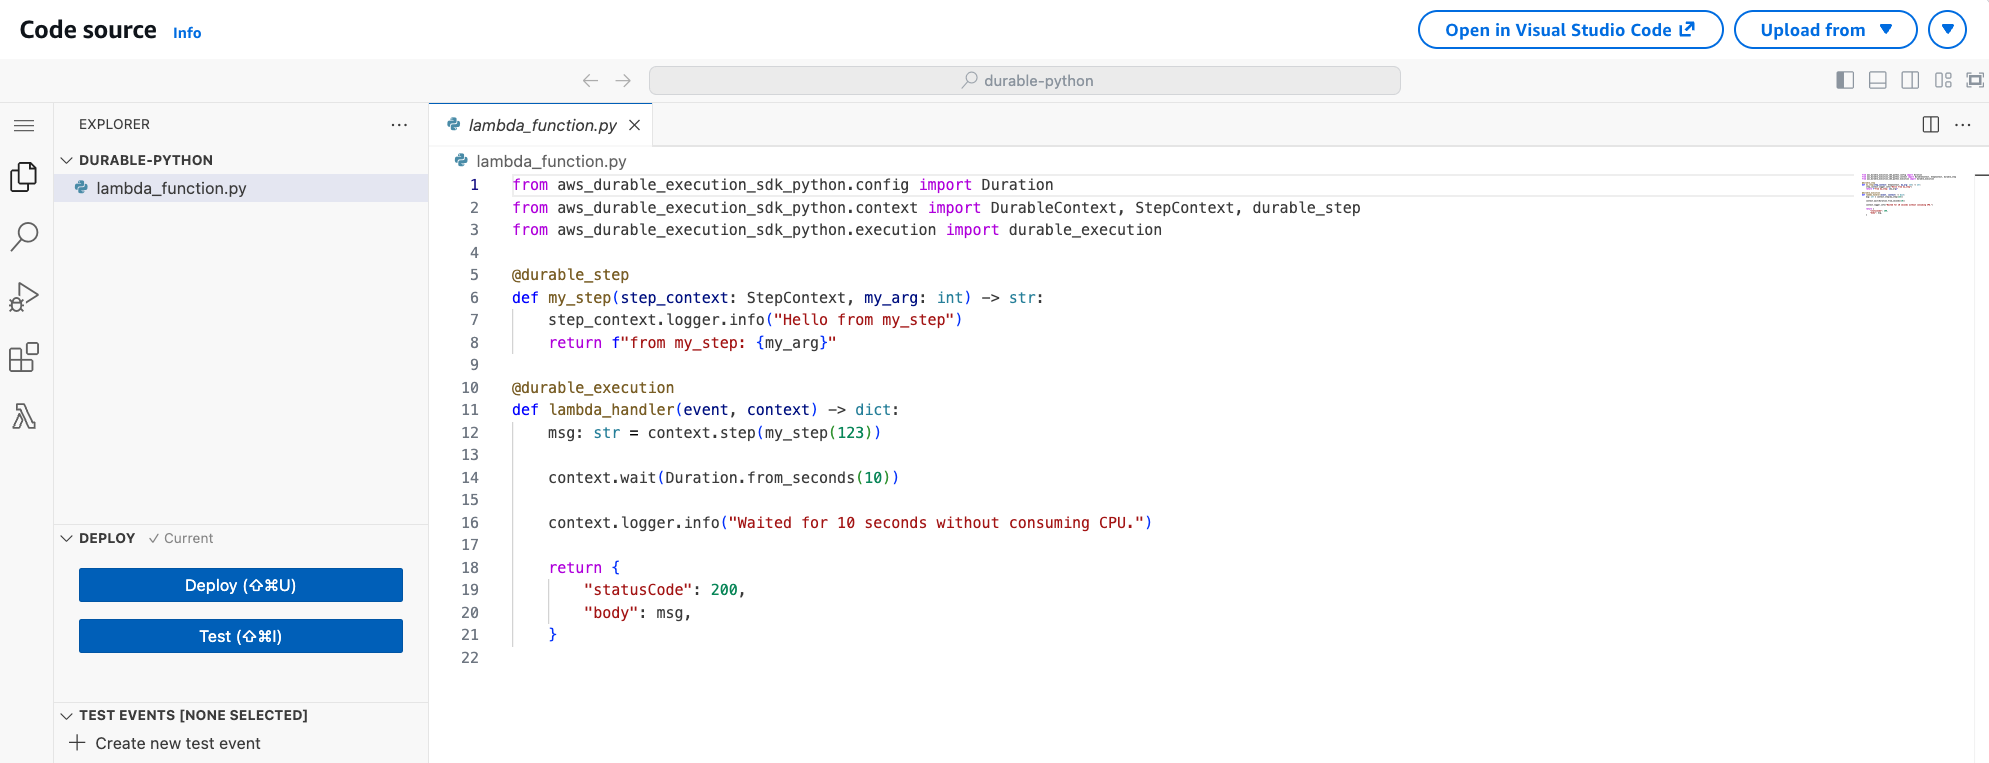
Usa l'editor di codice integrato nella console per aggiungere il tuo codice funzionale durevole.
Invoca la funzione durable utilizzando l'editor di codice della console
Quando non viene specificata (o pubblicata) alcuna versione esplicita, la console richiama la funzione durable utilizzando il qualificatore di versione. $LATEST Tuttavia, per l'esecuzione deterministica del codice, è necessario utilizzare sempre un ARN qualificato che punti a una versione stabile.
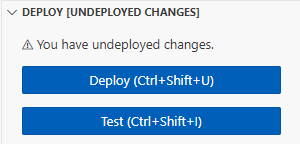
Per pubblicare una versione della tua funzione
-
Scegli la scheda Versioni.
-
Selezionare Publish new version (Pubblica nuova versione).
-
Per la descrizione della versione, inserisci
Initial version(opzionale). -
Seleziona Pubblica.
-
Lambda crea la versione 1 della tua funzione. Nota che la funzione ARN ora include
:1alla fine, a indicare che si tratta della versione 1.
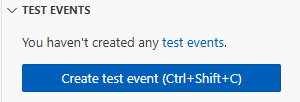
Ora crea un evento di test da inviare alla tua funzione. L'evento è un documento in formato JSON contenente un ID dell'ordine.
Per creare un evento di test
-
Nella sezione TEST EVENTS dell'editor di codice della console, scegli Crea evento di test.
-
Per Event name (Nome evento), immettere
myTestEvent. -
Nella sezione JSON dell'evento, sostituisci il codice JSON predefinito con il seguente:
{ "orderId": "order-12345" } -
Scegli Save (Salva).
Per testare la tua funzione duratura e visualizzarne l'esecuzione
Nella sezione TEST EVENTS dell'editor di codice della console, scegli l'icona di esecuzione accanto all'evento di test:
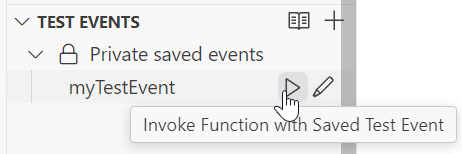
La tua funzione durevole inizia l'esecuzione. Poiché include un'attesa di 10 secondi, la chiamata iniziale viene completata rapidamente e la funzione riprende dopo il periodo di attesa. È possibile visualizzare l'avanzamento dell'esecuzione nella scheda Esecuzioni durevoli.
Per visualizzare l'esecuzione duratura della funzione
-
Scegli la scheda Esecuzioni durevoli.
-
Cerca la tua esecuzione nell'elenco. L'esecuzione mostra lo stato attuale (In esecuzione, Riuscito o Non riuscito).
-
Scegli l'ID di esecuzione per visualizzare i dettagli, tra cui:
Cronologia dell'esecuzione che mostra quando ogni passaggio è stato completato
Cronologia dei checkpoint
Periodi di attesa
Risultati delle fasi
Puoi anche visualizzare i log della tua funzione in CloudWatch Logs per vedere l'output della console di ogni passaggio.
Per visualizzare i record di invocazione della funzione in Logs CloudWatch
-
Apri la pagina Log groups
della console. CloudWatch -
Scegli il nome del gruppo di log per la funzione (
/aws/lambda/myDurableFunction). -
Scorri verso il basso e scegli il flusso di log per le invocazioni delle funzioni che desideri esaminare.
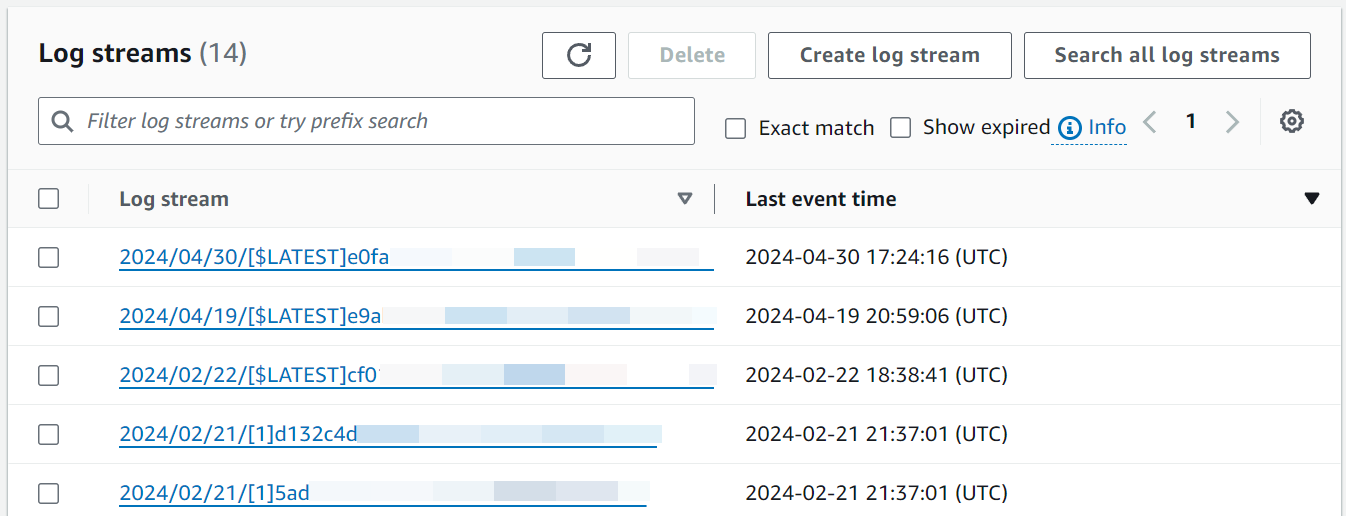
Dovrebbero essere visualizzate le voci di registro per ogni chiamata della funzione, inclusa l'esecuzione iniziale e la riproduzione dopo l'attesa.
Nota
Quando si utilizza il logger di DurableContext (ad esempio context.logger ostepContext.logger), i log vengono visualizzati anche nelle viste Durable Execution e Step della console Lambda. Il caricamento di questi log può richiedere alcuni istanti.
Eliminazione
Quando hai finito di utilizzare la funzione durable di esempio, eliminala. Puoi anche eliminare il gruppo di log che memorizza i log della funzione e il ruolo di esecuzione creato dalla console.
Per eliminare la funzione Lambda
-
Aprire la pagina Functions (Funzioni)
della console Lambda. -
Selezionare la funzione creata.
-
Scegliere Operazioni, Elimina.
-
Inserisci
confirmnel campo di immissione del testo, quindi scegli Elimina.
Come eliminare il gruppo di log
-
Apri la pagina Log groups page (Pagina dei gruppi di log)
della console CloudWatch. -
Scegli il gruppo di log della funzione (
/aws/lambda/myDurableFunction). -
Scegli Actions (Azioni), Delete log group(s) (Elimina gruppo/i di log).
-
Nella finestra di dialogo Delete log group(s) (Elimina gruppo/i di log) scegli Delete (Elimina).
Come eliminare il ruolo di esecuzione
-
Apri la pagina Ruoli
della console AWS Identity and Access Management (IAM). -
Seleziona il ruolo di esecuzione della funzione (ad esempio,
myDurableFunction-role-).31exxmpl -
Scegli Elimina.
-
Nella finestra di dialogo Elimina ruolo, immetti il nome del ruolo, quindi scegli Elimina.
Risorse aggiuntive e fasi successive
Ora che hai creato e testato una funzione semplice e duratura utilizzando la console, procedi nel seguente modo:
-
Scopri i casi d'uso più comuni per funzioni durevoli, tra cui transazioni distribuite, elaborazione degli ordini e flussi di lavoro di revisione umana. Vedi esempi.
-
Scopri come monitorare le esecuzioni durevoli delle funzioni con CloudWatch metriche e cronologia delle esecuzioni. Vedi Monitoraggio e debug.
-
Scopri come richiamare funzioni durevoli in modo sincrono e asincrono e come gestire esecuzioni di lunga durata. Vedi Richiamo di funzioni durevoli.
-
Segui le migliori pratiche per scrivere codice deterministico, gestire le dimensioni dei checkpoint e ottimizzare i costi. Consulta le migliori pratiche.
-
Scopri come testare funzioni durevoli a livello locale e nel cloud. Vedi Testare funzioni durevoli.
-
Confrontate le funzioni durevoli con Step Functions per capire quando ogni approccio è più efficace. Vedi Durable functions o Step Functions.
