Deployment Steps
Step 1: Launch stack
Option 1: Launch directly in AWS Console
Choose the following link to launch the CloudFormation stack directly in the AWS Management Console:

This opens the CloudFormation console with the template pre-loaded. You can select your preferred AWS Region from the console before proceeding.
Option 2: Download and upload template file
You can also download the template and upload it manually:
-
Download the CloudFormation template
-
Open the CloudFormation console
-
Choose Create stack, and then choose With new resources (standard)
-
Under Specify template, choose Upload a template file
-
Choose Choose file and select the downloaded template
-
Choose Next

Step 2: Configure Stack Details
Enter the stack name (for example, SpatialDataManagement) and configure basic options.
Note
If you choose a different stack name, replace SpatialDataManagement with your chosen name in all CLI commands throughout this guide.
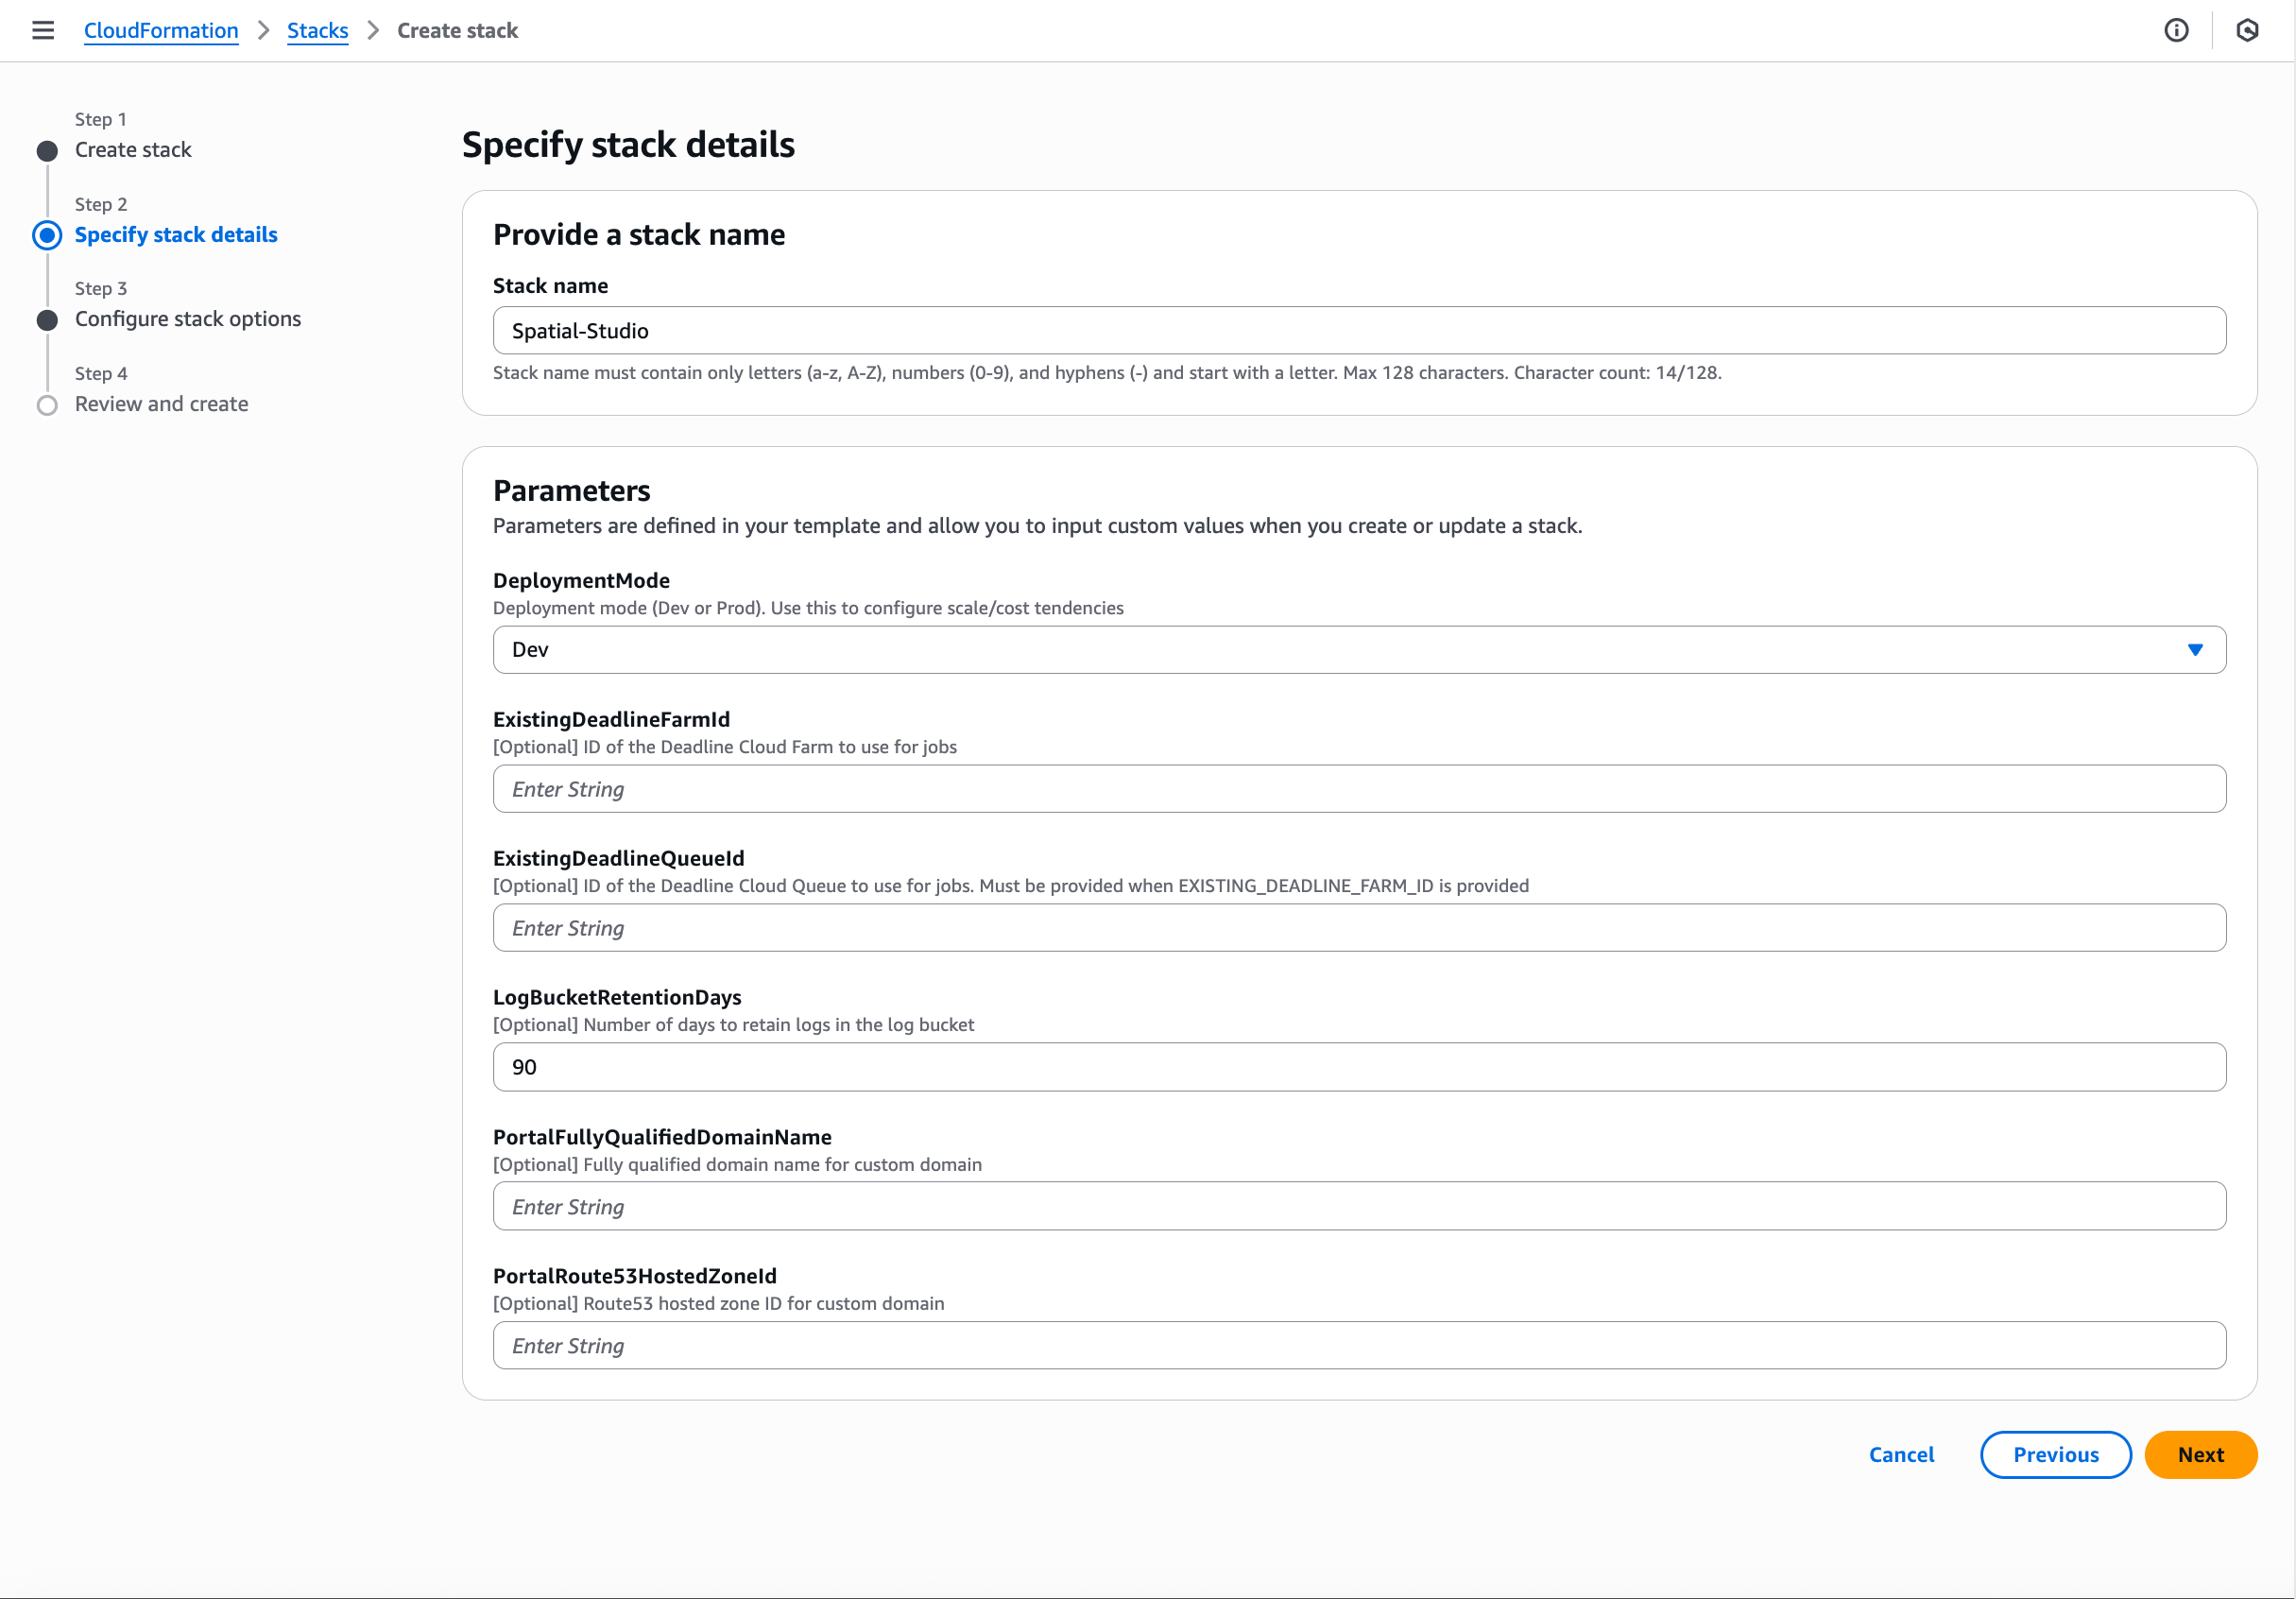
Step 3: Specify Stack Parameters
You can configure the deployment parameters based on your environment.
Key parameters to configure:
| Parameter | Description | Default | Valid Values |
|---|---|---|---|
|
|
Deployment environment – Dev or Prod. You can use this to configure scale and cost tendencies |
|
|
Optional Parameters
| Parameter | Description | Default | Valid Values |
|---|---|---|---|
|
|
Number of days to retain logs in the log bucket |
|
Any positive integer |
|
|
Fully qualified domain name for custom domain |
Empty |
Valid domain name or empty |
|
|
Route53 hosted zone ID for custom domain |
Empty |
Valid Route53 hosted zone ID (starts with Z) or empty |
|
|
ID of the Deadline Cloud Farm to use for jobs |
Empty |
Valid Deadline Cloud Farm ID (farm-<32 hex chars>) or empty |
|
|
ID of the Deadline Cloud Queue to use for jobs |
Empty |
Valid Deadline Cloud Queue ID (queue-<32 hex chars>) or empty |

Step 4: Configure Stack Options
You can set additional stack options:
You can configure the following options:
-
Stack policy (optional) – Defines which IAM actions are allowed on specific resources. For more information, see Prevent updates to stack resources in the AWS CloudFormation User Guide.
-
Rollback configuration – Specifies whether to roll back the stack if creation fails. For more information, see Stack creation options in the AWS CloudFormation User Guide.
-
Notification options – Specifies Amazon SNS topics to receive stack-related notifications. For more information, see Monitoring stack creation and updates in the AWS CloudFormation User Guide.
-
Tags – Key-value pairs for resource organization and cost allocation. For more information, see Tagging resources in the AWS CloudFormation User Guide.


Step 5: Review and Create
Review your configuration and choose Create stack to begin deployment. The stack creation typically takes approximately 45 minutes to complete.


Step 6: Monitor Deployment Progress
You can monitor stack creation progress in the CloudFormation console:
-
Open the CloudFormation console
-
Select your stack (SpatialDataManagement)
-
Choose the Events tab to view real-time creation progress
-
Watch for the CREATE_COMPLETE status
For more information, see Monitoring stack creation, update, and deletion progress in the AWS CloudFormation User Guide.
Step 7: Retrieve Outputs
After successful deployment:
-
Open the CloudFormation console
-
Select your stack (SpatialDataManagement)
-
Choose the Outputs tab to view deployment outputs
-
Copy the output values for use in post-deployment configuration
Nested Stacks
The main stack creates the following nested stacks:
-
VPC Stack (5-7 minutes) – Amazon Virtual Private Cloud (Amazon VPC) with 2 Availability Zones – Public, private, and isolated subnets – NAT gateways – VPC endpoints for AWS services
-
Auth Stack (3-5 minutes) – Amazon Cognito user pool for authentication – Amazon Cognito identity pool for authorization – User and group management
-
Asset Management Stack (5-8 minutes) – Amazon DynamoDB tables for asset metadata – AWS Lambda functions for API operations – Amazon Simple Storage Service (Amazon S3) buckets for asset storage – Amazon Simple Queue Service (Amazon SQS) queues for asynchronous processing – Amazon API Gateway for REST endpoints
-
OpenSearch Stack (3-5 minutes) – Amazon OpenSearch Serverless collection – VPC endpoint for private access – Security and network policies
-
Portal Stack (2-3 minutes) – Amazon CloudFront distribution for content delivery – S3 bucket for web assets – CloudFront key pair for signed URLs
-
Deadline Stack (2-3 minutes, if enabled) – AWS Deadline Cloud farm configuration – Integration with asset management system – Job queue setup
-
Monitoring Stack (2-3 minutes) – Amazon CloudWatch alarms and dashboards – AWS CloudTrail for audit logging – Amazon Athena workgroup for log analysis
