Create a lifecycle configuration to install Code Editor extensions
This section shows how to create a lifecycle configuration to install extensions from
the Open VSX Registry
-
From your local machine, create a file named
my-script.shwith the following content:#!/bin/bash set -eux -
Within the script, install the Open VSX Registry
extension of your choice: sagemaker-code-editor --install-extensionAmazonEMR.emr-tools--extensions-dir /opt/amazon/sagemaker/sagemaker-code-editor-server-data/extensionsYou can retrieve the extension name from the URL of the extension in the Open VSX Registry
. The extension name to use in the sagemaker-code-editorcommand should contain all text that followshttps://open-vsx.org/extension/in the URL. Replace all instances of a slash (/) with a period (.). For example,AmazonEMR/emr-toolsshould beAmazonEMR.emr-tools.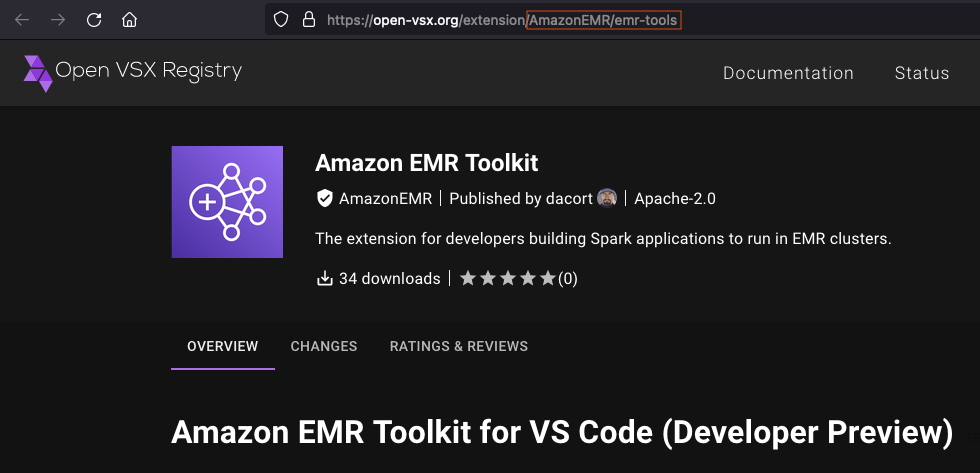
-
After finalizing your script, create and attach your lifecycle configuration. For more information, see Create and attach lifecycle configurations in Studio.
-
Create your Code Editor application with the lifecycle configuration attached:
aws sagemaker create-app \ --domain-iddomain-id\ --space-namespace-name\ --app-typeCodeEditor\ --app-namedefault\ --resource-spec "SageMakerImageArn=arn:aws:sagemaker:region:image-account-id:image/sagemaker-distribution-cpu,LifecycleConfigArn=arn:aws:sagemaker:region:user-account-id:studio-lifecycle-config/my-code-editor-lcc,InstanceType=ml.t3.large"For more information about available Code Editor image ARNs, see Code Editor application instances and images. For more information about connections and extensions, see Code Editor Connections and Extensions.
