Virtual try-on
Virtual try-on is an image-guided use case of inpainting in which the contents of a reference image are superimposed into a source image based on the guidance of a mask image. Amazon Nova Canvas has been tuned for garments, accessories, furniture, and related objects. The model also generalizes well to other cases, such as adding a logo or text into an image.
You can generate up to five images with the virtual try-on API. By default only one image is generated.
To perform a virtual try-on, you must provide three images:
-
Source image - The original image that you want to modify. For example, this might be an image or a person or a room scene.
-
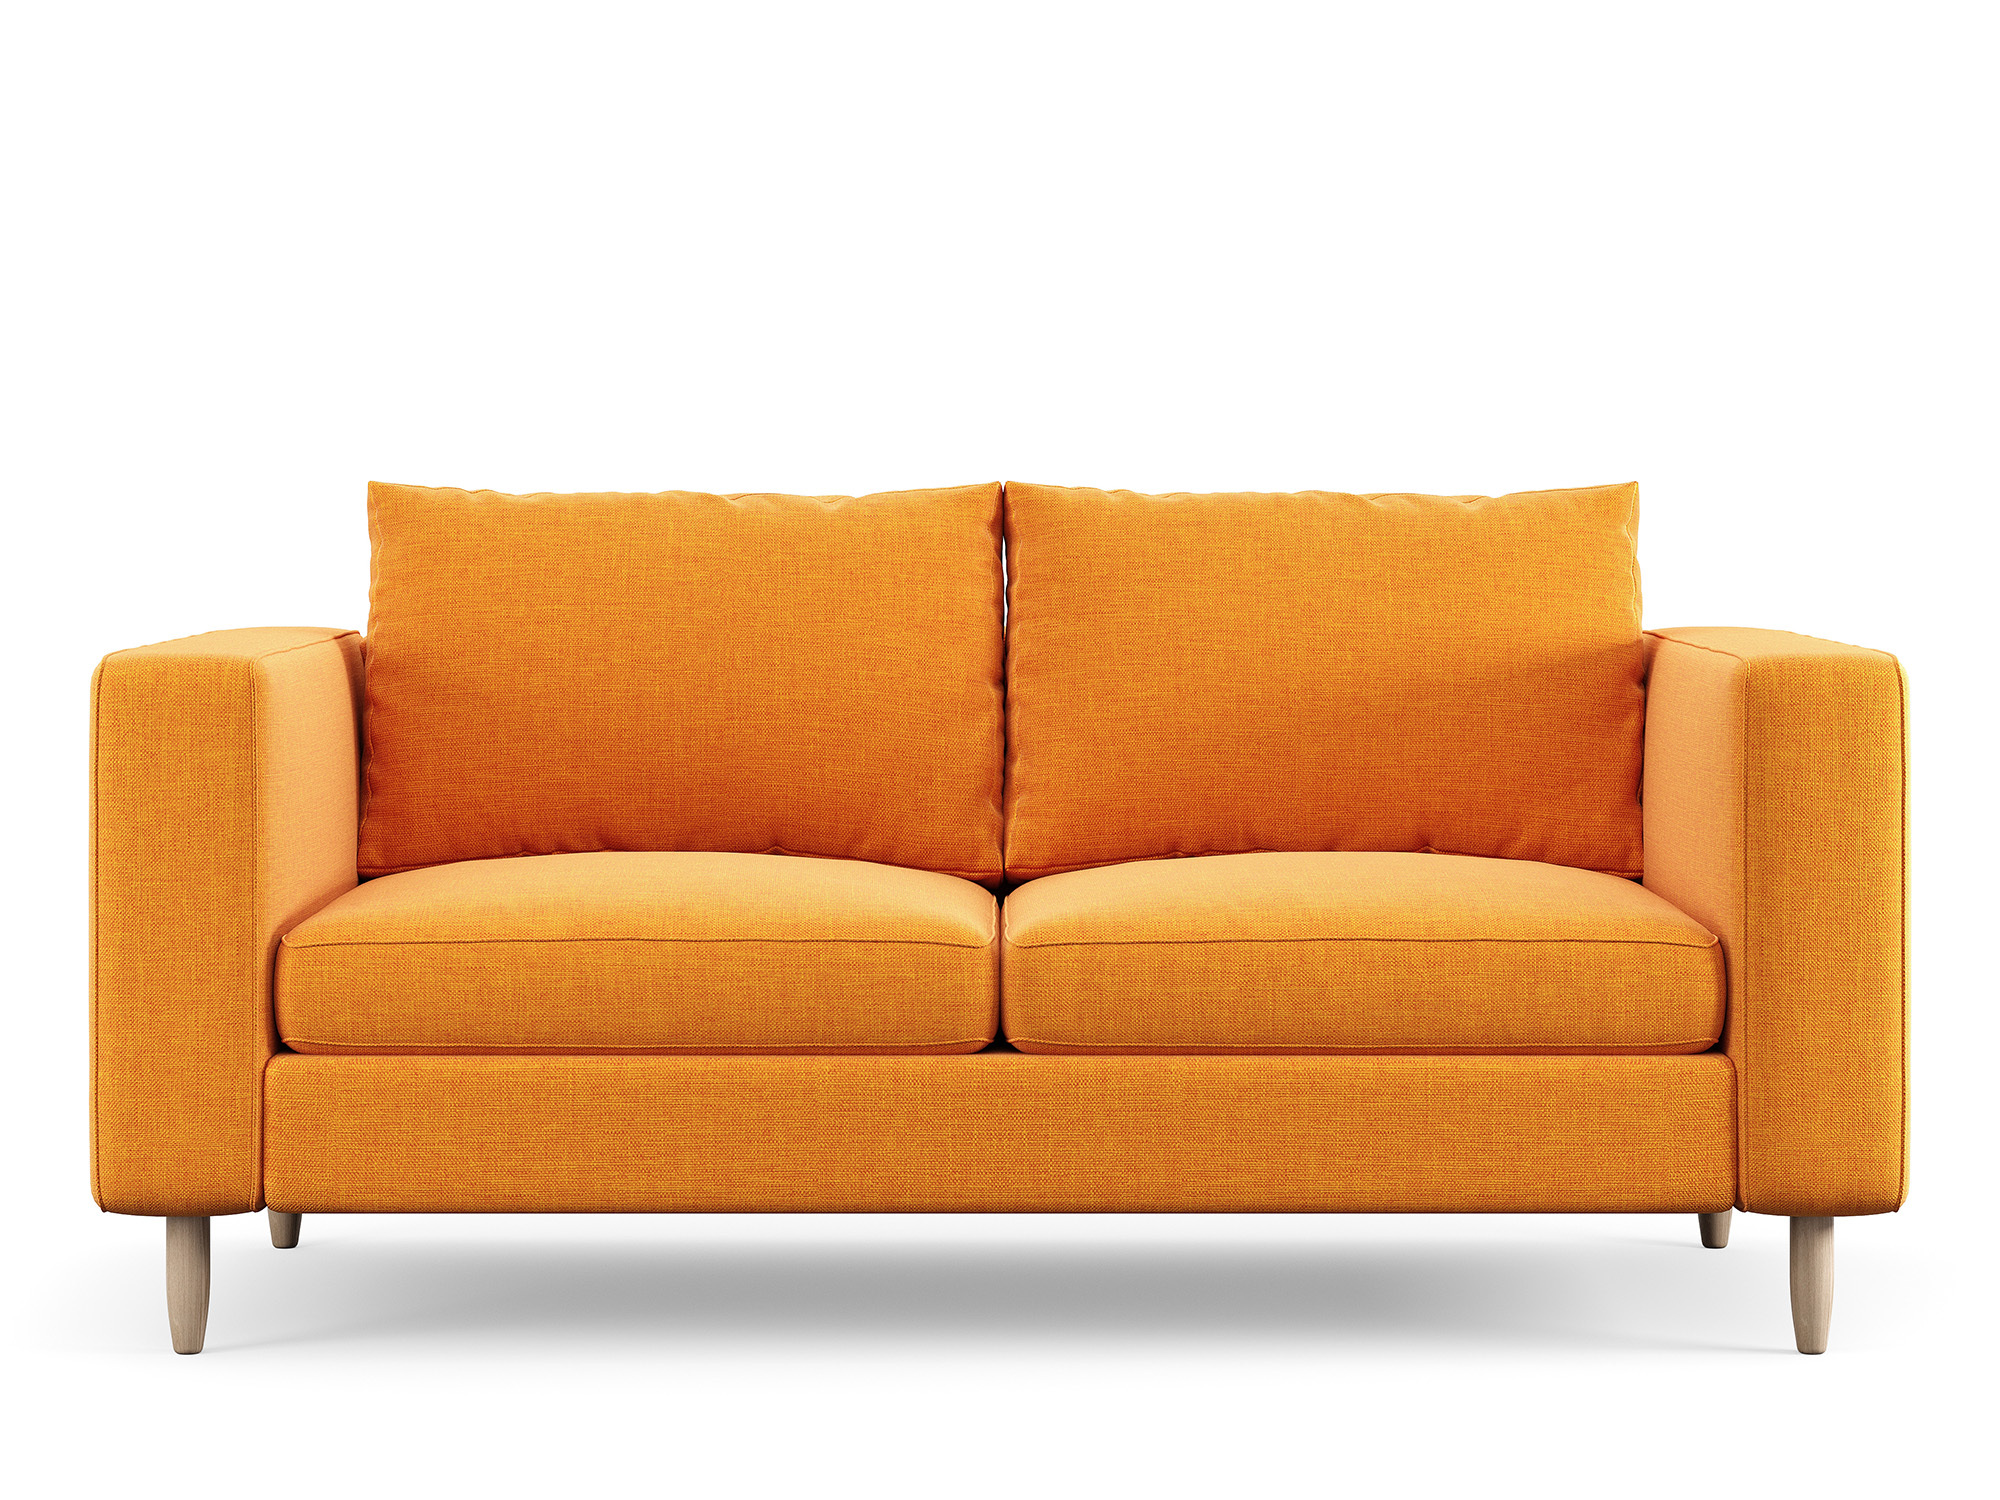
Reference image - The image containing the item, object, or article that you want to superimpose into source image. For example, this might contain a jacket, bowl, or couch. For garments, the reference image can contain garments on or off a body and can contain multiple products that represent distinct outfit components (such as shirts, pants, and shoes in a single image).
-
Mask image - The image that defines which part of the source that you want to modify. A mask image is a black and white image used to define which part of the source image should be modified. Black pixels indicate the area of the source image to modify while white pixels indicate areas of the image to preserve. You can either provide your own mask image or you can let the model create one for you based on other input parameters you provide.
The mask image can be returned as part of the output if specified.
Here are some examples of how the model works.


Unlike other Amazon Nova Canvas task types, virtual try-on does not support a text prompt or negative text prompt.
Defining the mask image
You can either directly provide a mask image by specifying maskType: "IMAGE" or allow the model to compute it automatically using auxiliary inputs such as maskType: "GARMENT" or maskType: "PROMPT".
When a mask type of "GARMENT" is specified, Amazon Nova Canvas creates a garment-aware mask based on a garmentClass input parameter value that you specify. In most cases, you can use one of the following high-level garment classes:
-
"UPPER_BODY"- Creates a mask that includes full arm length. -
"LOWER_BODY"- Creates a mask the includes full leg length with no gap between the legs. -
"FOOTWEAR"- Creates a mask that fits the shoe profile demonstrated in the source image. -
"FULL_BODY"- Creates a mask equivalent to the combination of"UPPER_BODY"and"LOWER_BODY".
You can use the "PROMPT" mask type to use natural language to describe the item in the source image that you want to replace. This is useful for non-garment scenarios. This feature utilizes the same auto-masking functionality that exists in the "INPAINTING" task type via the maskPrompt parameter.
Warning
Masks created with the "PROMPT" mask type will adhere tightly to the shape of the item you describe. This can be problematic in many scenarios because the product you are adding might not share the same silhouette or size of the item you are replacing. For this reason, the virtual try-on API also provides an optional maskShape parameter that can be set to "BOUNDING_BOX". We recommend using this setting (which is the default) in most cases when using the "PROMPT" mask type.
Generating new poses, hands, or faces
You can instruct the model to either keep or regenerate the pose, hands, or face of the person in the source image. When you choose to keep these elements, they are automatically removed from the mask image, regardless of which maskType you have chosen.
You might want to preserve pose, hands, or face in the following situations:
-
You are developing an application that allows end-users to draw their own masks. Preserving these features prevents the end-users from accidentally including the hands or face in the mask.
-
You are using
maskShape: BOUNDING_BOXbut don't want to generate new hands or face. WithpreserveFace: ONorpreserveHands: ON, these features are automatically removed from the mask. -
You are using
maskType:GARMENTandmaskShape: BOUNDING_BOXwith a model that is not in an upright posture. In this case, the bounding box mask can overlap the face and we recommend usingpreserveFace: ON.
Conversely, you might want to regenerate the pose, hands, or face in the following situations:
-
For garments that cover the neck,
preserveFace: ONcan exclude enough of the neck to have a detrimental impact on the output. -
When the model is wearing high-heeled shoes and the reference image is of flat-heeled shoes, or vice-versa. In this case, preserving the body pose creates unnatural looking results.
-
Similar to the previous point, when trying on handbags or other accessories, generating new poses or hands can generate more natural-looking results.
Styling cues
The garmentStyling parameter allows you to preserve or alter specific garment styling cues that you might find in a photo shoot. For example, Amazon Nova Canvas can modify the styling of a shirt so that its sleeves are either rolled up or down or it can modify the shirt so that it is tucked in or not. The following options are available:
-
"longSleeveStyle"- Controls whether the sleeves of a long-sleeve shirt are rolled up or down.-
"SLEEVE_DOWN"- Can be applied when the source image is wearing a long-sleeve shirt (sleeves up or down), short-sleeve shirt, or no-sleeve shirt. -
"SLEEVE_UP"- Can be applied when the source image is wearing a long-sleeve shirt with the sleeves up, short-sleeve shirt, or no-sleeve shirt.
-
-
"tuckingStyle"- Controls whether an upper body garment appears tucked in or loose.-
"UNTUCKED"- Can be applied regardless of whether the source image has the shirt tucked or untucked. -
"TUCKED"- Can be applied when the source image has the shirt tucked in.
-
-
"outerLayerStyle"- Controls whether an upper body garment is styled open or closed. This defaults to"CLOSED"which is appropriate for most garments (such as shirts and sweaters). For outer garments, like jackets, setting this value to"OPEN"guarantees that the original upper body garment from the source image will be retained with the new outer garment being layered over it. Using a value of"CLOSED"with an outer garment might not always render the garment as closed. This is because a value of"CLOSED"only guarantees that every upper body garment in the source image will be replaced and can sometimes result in an open outer layer with a new under layer visible beneath.-
"CLOSED" -
"OPEN"
-
For more information, see the garmentStyling parameters in Request and response structure for image generation.
Image stitching
Virtual try-on allows you to determine how images are stitched together to create the final image. You can choose from "BALANCED", "SEAMLESS", and "DETAILED". Each merge style takes a different approach to how it stitches the elements together to create the final image, each with its own benefits and tradeoffs.
-
"BALANCED"- Protects any non-masked pixels in the original image, ensuring they remain 100% accurate to the original. In some cases, there will be a slight perceptible color or texture mismatch in the output image that presents as a kind of “ghost” image of the mask shape. This is most likely to occur when the image features a person standing against a solid color or uniformly textured background. To avoid this, you can use the"SEAMLESS"merge style instead. -
"SEAMLESS"- Ensures that there will never be a noticeable seam between the masked and non-masked images areas in the final image. The tradeoff is that all pixels in the image change slightly and sometimes fine-grained details are diminished in the non-masked areas of the image. -
"DETAILED"- Can greatly improve fine-grained details like logos and text, especially when the masked area is relatively small compared to the overall image. The model achieves this by performing inpainting on a tightly cropped, higher resolution version of the original image that only includes the masked area. It then merges the result back into the original image. As with using"BALANCED"mode, this mode can sometimes result in a visible seam.
