翻訳は機械翻訳により提供されています。提供された翻訳内容と英語版の間で齟齬、不一致または矛盾がある場合、英語版が優先します。
Transfer Family ウェブアプリへのユーザーまたはグループの割り当てまたは追加
Transfer Family ウェブアプリを作成したら、ウェブアプリにアクセスできるユーザーとグループを割り当てることができます。既に作成され、IAM Identity Center に保存されているユーザーを取得するか、新しいユーザーを直接追加できます (IAM Identity Center ディレクトリを ID プロバイダーとして使用している場合)。新しいユーザーを追加すると、IAM Identity Center インスタンスにも追加されます。
次の点に注意してください。
-
IAM Identity Center ディレクトリを ID ソースとして使用していて、適切なアクセス許可がある場合にのみ、新しいユーザーを追加できます。組織インスタンスのメンバーである場合、ユーザーを追加するために必要なアクセス許可がない可能性があります。
注記
ユーザーまたはグループをアプリケーションに割り当てない場合、ユーザーがウェブアプリにログインしようとするとエラーが発生します。
-
新しいユーザーを作成する場合は、ウェブアプリのデータにアクセスできるように、このユーザーの S3 アクセス許可も作成する必要があります。
-
新しいユーザーを作成すると、そのユーザーは IAM アイデンティティセンターからオンボーディング E メールを受信し、手順を説明します。
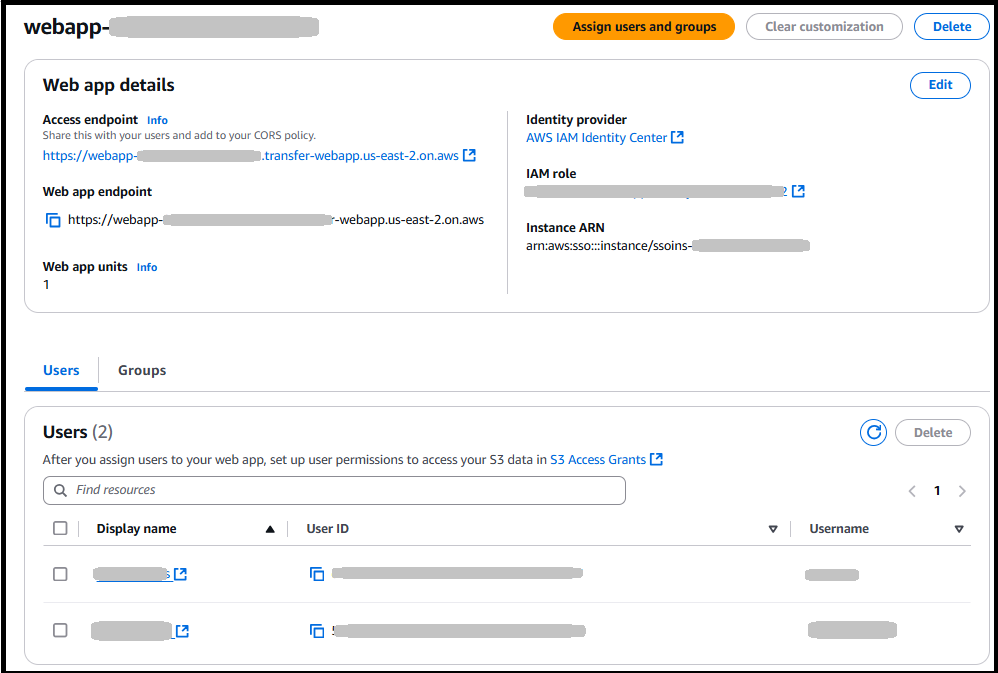
Transfer Family ウェブアプリにユーザーを割り当てるには
-
ウェブアプリリストに移動し、編集するリストを選択します。
-
[ユーザーとグループの割り当て] を選択します。
-
IAM Identity Center で以前に作成したユーザーを割り当てるには、既存のユーザーとグループの割り当てを選択します。新しいユーザーを作成するには、ステップ 4 に進みます。
-
情報画面が表示されます。開始方法を選択して続行します。
-
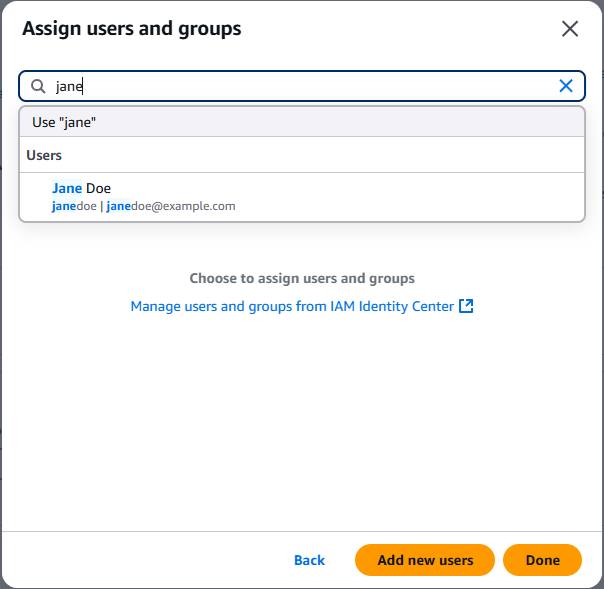
ユーザーを検索します。検索条件の入力を開始するまで、ユーザーは表示されないことに注意してください。異なる場合は、ユーザー名ではなく表示名で検索する必要があります。完全一致のみが返されます。ユーザーが見つからない場合は、IAM Identity Center 管理コンソールに移動し、ユーザーを見つけてから、表示名をコピーしてここに貼り付けます。
-
追加するユーザーとグループを選択し、割り当てを選択します。
-
-
新しいユーザーを作成するには、「追加して新しいユーザーを割り当てる」を選択します。
-
情報画面が表示されます。開始方法を選択して続行します。
-
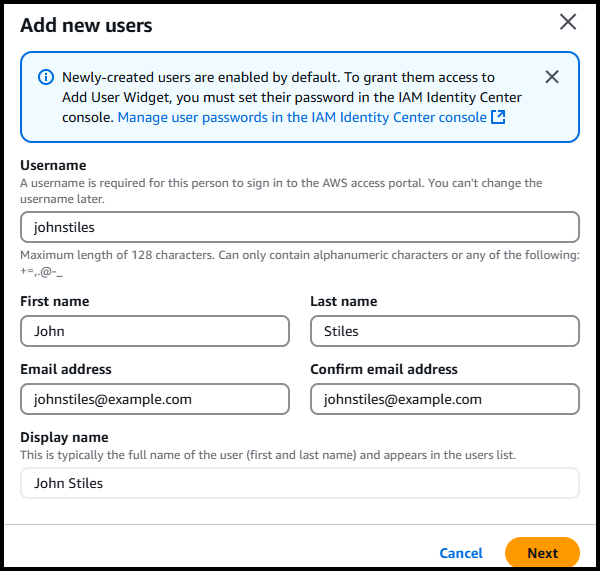
[新しいユーザーの追加] を選択します。
-
ダイアログボックスにユーザー名、姓名、E メールアドレスのユーザーの詳細を入力します。
-
Next を選択し、Add を選択してユーザーを追加し、ダイアログボックスを閉じるか、Add new user to create another user を選択します。
-
