Managed integrations Hub SDK image on Raspberry Pi
Note
This implementation of AWS IoT Hub SDK on Raspberry Pi is a demonstration project intended for learning and testing purposes only and is not intended to be used in production environments. For the purposes of this demo, set the following configurations for development ease:
AWS credentials storage: For demo purposes only, credentials and certificates are stored in an accessible location for easier testing and development. Production environments must use secure storage solutions like AWS Secrets Manager, or Systems Manager Parameter Store. They must implement encryption at rest, and follow AWS IoT security guidelines.
Container privileges: The demo runs with elevated privileges to allow unrestricted access to host resources and simplify development workflows. In production, containers should operate with minimal required privileges.
Network bridge configuration: The demo uses a network bridge configuration that exposes internal network traffic for easier debugging and monitoring. In production environments, implement proper network isolation and segmentation to prevent unauthorized access to internal network traffic.
USB device permissions: Unrestricted USB device access is enabled to facilitate easy connection of development peripherals and testing devices. For production, implement strict USB device controls and validation to prevent device spoofing attacks.
These configurations enable straightforward testing and must notcbe used in production environments. When deploying to production, please follow security best practices to prevent host system compromise and unauthorized access to credentials.
Prerequisites
Complete these requirements before deploying the Raspberry Pi image:
-
Download and install Raspberry Pi imager
. -
Obtain an SD Card
. -
Set up a Raspberry Pi 5 with 2.4Ghz 64-bit quad-core CPU (8GB RAM)
. -
Connect a Sonoff Zigbee USB Dongle
. -
Connect a Silicon Labs SLUSB001A Dongle
. -
Install the latest version of AWS CLI from the Managed integrations AWS CLI Command Reference.
Flash a Raspberry Pi image on a new SD card
Flash the Managed integrations image to your SD card using these steps:
-
Download the Managed integrations Raspberry Pi Hub SDK Image
. -
Launch Raspberry Pi Imager on your desktop.
-
Insert SD card into your computer's built-in SD card reader, or external USB card reader.
-
Select Choose Device → Raspberry Pi 5.
-
Select Choose OS → Use custom → Find the IotMI-HubSDK-RPi-Image-v1.0.0.img.gz file → Open.
-
Select Choose storage → Select your SD Card Reader.
-
Verify your configuration matches the following screen:

-
Click Next.
-
Configure the OS customization settings:
-
Hostname: Select raspberrypi.
-
Username and Password:
-
Enable Set username and password:
-
For Username:, input
hub123456. -
For Password:, input
sh123456.
-
-
Wireless LAN:
-
Enable Configure wireless LAN.
-
Enter your router's SSID, and password.
Example settings:
SSID:
iotmi-tplinkPassword:
********(Minimum of 8 characters)
-
Set Country: to
US.
-
-
Set Locale Settings:
-
Set Time zone: to
America/Los Angeles. -
Set Keyboard Layout: to
US.
-
-
SSH:
-
Choose the services tab.
-
Check Enable SSH.
-
Choose Use password authentication.
-
-
-
Confirm all popups for OS customization and data erasure.
-
Wait for the writing process to complete.
-
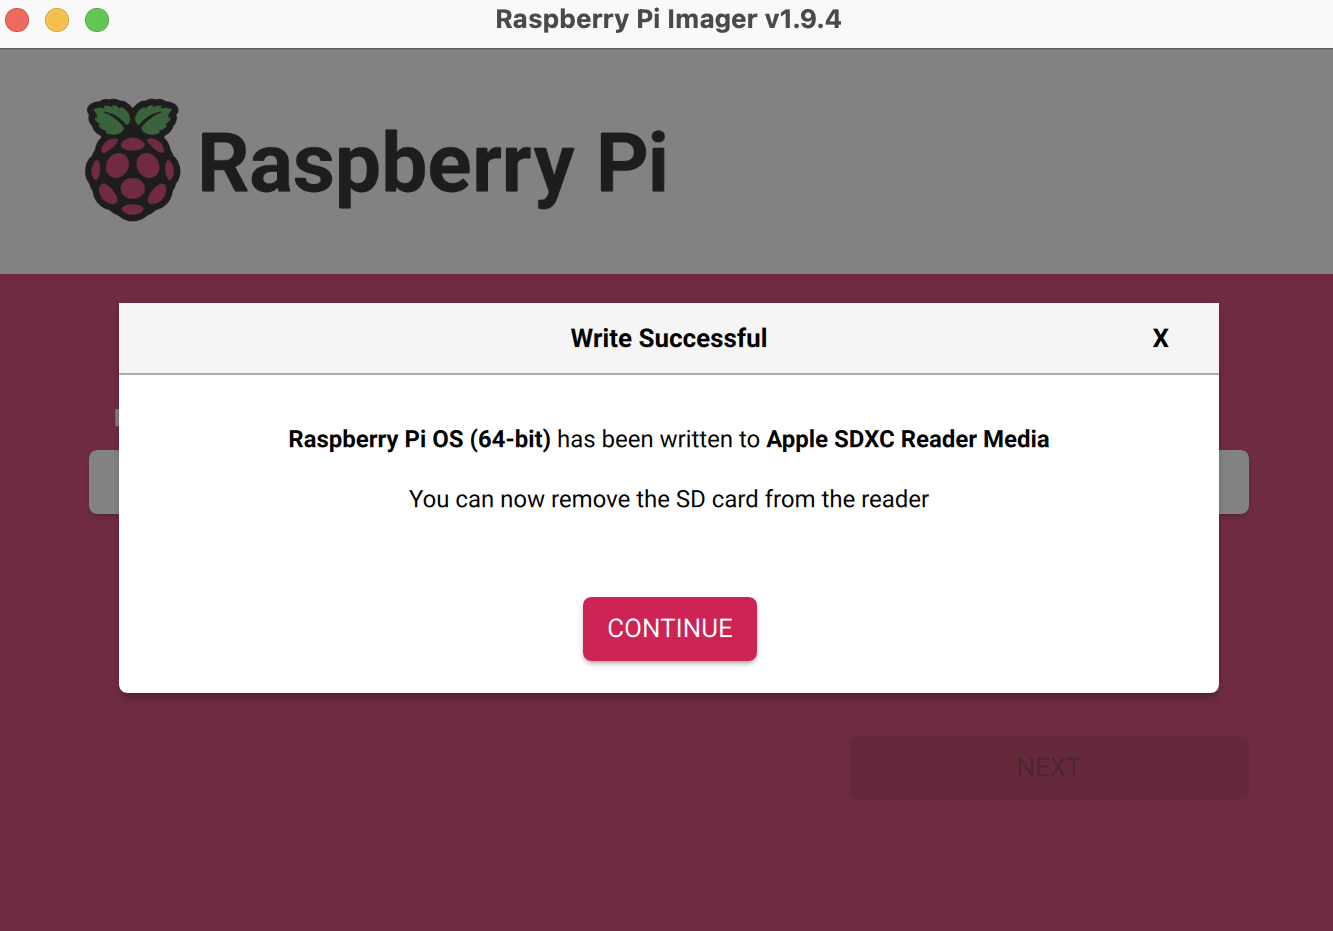
Verify successful completion with the following screen:
-
Click Continue.
-
Remove the SD card and insert it into your Raspberry Pi.
Run the Hub SDK on the Raspberry Pi
Start the Hub SDK services on your configured Raspberry Pi:
-
Insert the prepared SD card into the Raspberry Pi 5 device.
-
Connect the Sonoff Zigbee USB Dongle and Silicon Labs SLUSB001A Dongle to the Raspberry Pi.
-
Power on the Raspberry Pi.
-
Ensure the Raspberry Pi and your computer (from which you SSH) are on the same network.
-
SSH into the Raspberry Pi using the credentials you set during image deployment.
ssh username@hostname -
Navigate to the hub SDK directory:
cd /data/aws/iotmi -
Complete the Hub onboarding setup to add authentication and configuration materials.
Note
You must be on
YULorDUBregion to do this step. -
Run the Hub SDK:
cd /data/aws/iotmi
bash start_hub_sdk.sh
The system displays the following response for a successful Hub SDK start:
-------Stopping SDK running processes---
-------Starting Hub SDK-------------
-------Creating logs directory----------
Logs directory created.
-------Verifying Middleware paths-------
All middleware libraries exist
-------Verifying Middleware pre reqs---
AIPC and KVstroage directories exist
-------Starting HubOnboarding-----------
-------Starting MQTT Proxy-----------
-------Staring Log Daemon---
-------Starting Event Manager-----------
-------Starting Zigbee Service----------
--Checking Zigbee network information--
-------Starting Zwave Service----------
/data/aws/iotmi/middleware/AceZwave/bin /data/aws/iotmi
/data/aws/iotmi
-------Starting CDMB--------------------
-------Starting Agent--------------------
-------Starting Provisioner--------------
-------Checking SDK status---------------
hub1234+    1780  0.2  0.1 1093936 16368 pts/1   Sl+  16:34   0:00 ./iotmi_mqtt_proxy -C /data/aws/iotmi/config/iotmi_config.json
Process 'iotmi_mqtt_proxy' is running.
hub1234+    1884  0.0  0.0 236272  2624 pts/1    Sl+  16:34   0:00 ./middleware/AceCommon/bin/ace_eventmgr
Process 'ace_eventmgr' is running.
hub1234+    1892  9.1  0.1 393040  8352 pts/1    Sl+  16:34   0:04 ./middleware/AceZigbee/bin/ace_zigbee_service
Process 'ace_zigbee_service' is running.
hub1234+    1923  0.0  0.1 1570736 12736 pts/1   Sl+  16:34   0:00 ./zwave_svc
Process 'zwave_svc' is running.
hub1234+    1958  0.0  0.0 1067632 5776 pts/1    Sl+  16:34   0:00 ./iotmi_cdmb
Process 'iotmi_cdmb' is running.
hub1234+    2001  0.2  0.2 2017712 21264 pts/1   Sl+  16:35   0:00 ./iotmi_device_agent
Process 'iotmi_device_agent' is running.
hub1234+    2045  0.0  0.1 1457824 12624 pts/1   Sl+  16:35   0:00 ./iotmi_lpw_provisioner
Process 'iotmi_lpw_provisioner' is running.
hub1234+    1813  0.0  0.0 875152  6848 pts/1    Sl+  16:34   0:00 ./iotmi_log_daemon
Process 'iotmi_log_daemon' is running.
------Successfully Started Hub SDK----
Next steps
After successfully starting the Hub SDK, proceed with device onboarding and management at User guided setup to onboard and operate devices.
