End of support notice: On November 13, 2025, AWS will discontinue support for Amazon Elastic Transcoder. After November 13, 2025, you will no longer be able to access the Elastic Transcoder console or Elastic Transcoder resources.
For more information about transitioning to AWS Elemental MediaConvert, visit this blog post
Create a Pipeline
A pipeline manages the jobs that transcode your files. Typically, you'll create two or more pipelines, for example, to manage standard-priority jobs and high-priority jobs. In this example, you'll create a single pipeline. For more information about pipelines, see Working with Pipelines.
To create a pipeline using the Elastic Transcoder console
Open the Elastic Transcoder console at https://console.aws.amazon.com/elastictranscoder/
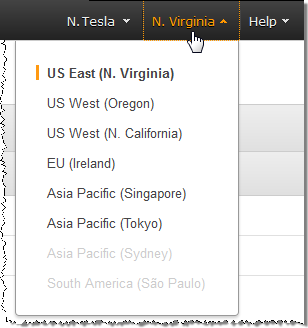
. In the navigation bar of the Elastic Transcoder console, select the region in which you want to create the pipeline.
In the left pane of the console, click Pipelines.
On the Pipelines page, click Create New Pipeline.
Enter the applicable values. For more information about each field, see Settings that You Specify When You Create an Elastic Transcoder Pipeline.
Note
If you want to monitor the progress of your job, specify the Amazon Simple Notification Service (Amazon SNS) topic that you want to notify when Elastic Transcoder begins processing a job and when Elastic Transcoder has completed the job.
Click Create Pipeline.
