Set up Connect Customer integration with Salesforce, ServiceNow, Marketo, or Zendesk
To provide periodic updates to Connect Customer Customer Profiles, you can integrate with Salesforce, ServiceNow, Marketo, or Zendesk using Amazon AppFlow. You first set up the connection in Connect Customer and the application of your choice, and then verify the integration.
Set up the connection in Connect Customer and Salesforce, ServiceNow, Marketo, or Zendesk
-
Open the Connect Customer console at https://console.aws.amazon.com/connect/
. On the instances page, choose the instance alias. The instance alias is also your instance name, which appears in your Connect Customer URL. The following image shows the Connect Customer virtual contact center instances page, with a box around the instance alias.

-
In the navigation pane, choose Customer profiles.
-
On the Customer profiles configuration page, choose Add integration, as shown in the following image.

-
On the Select data source page, choose which external application you want to get customer profiles data from. You can view the integration requirements to better understand the connection requirements needed for your application.

-
On the Establish connection page, choose one of the following:
-
Use existing connection: This allows you to reuse existing Amazon AppFlow resources you may have created in your AWS account..
-
Create new connection: Enter the information required by the external application.

-
-
On the Integration options page, choose which source objects you want to ingest and select their object type.
Object types store your ingested data. They also define how objects from your integrations are mapped to profiles when they are ingested. Customer Profiles provides default object type templates you can use that define how attributes in your source objects are mapped to the standard objects in Customer Profiles. You can also use the object mappings that you’ve created from the PutProfileObjectType. When adding or creating the Salesforce integration for the user created data mapping, you need to specify the specific data mapping, otherwise it will choose the Salesforce default data mapping for object type. You can create your data mapping and use it when setting up a featured data connector.

-
For the Ingestion start date, Customer Profiles starts ingesting records created after this date. By default, the date for importing records is set at 30 days prior.
-
On the Review and integrate page, check that the Connection status says Connected, and then choose Create integration.

-
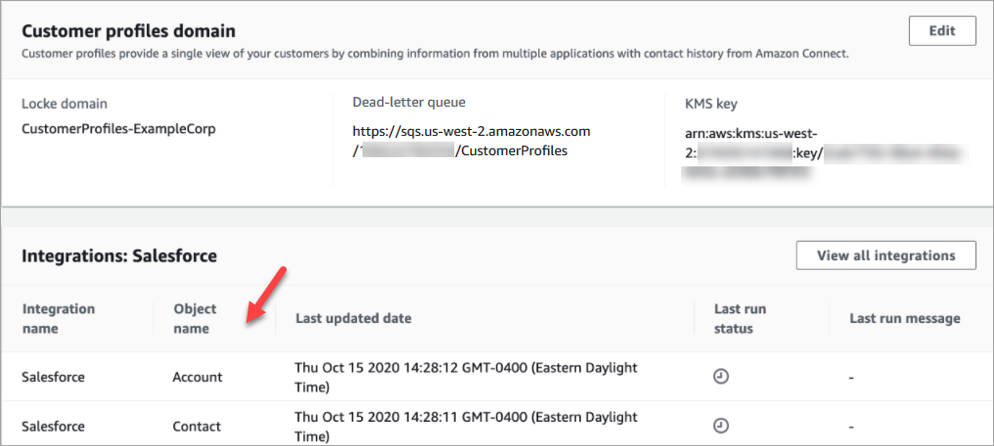
After the integration is set up, back on the Customer profiles configuration page, choose View objects to see what data is being batched and sent. Currently, this process ingests records that were created or modified in the last 30 days.