Creating Your Instance
You create an instance using one of two methods, Standard configuration or Advanced configuration. Standard configuration uses an automated process that creates your instance quickly using preset parameters. Advanced configuration allows you to customize your instance by setting your own parameters.
Using standard configuration
Standard configuration creates your Amazon Connect Decisions instance using default security and encryption settings. Instances operate in AWS geographic regions. For more information about regions, see Regions and endpoints in the IAM User Guide and Regional endpoints in the AWS General Reference.
To create an Amazon Connect Decisions instance using a standard configuration of preset parameters, follow these steps.
-
Select Create.

-
Check your email for the following:
-
An email from the IdC team.
-
An email from Identity Management team.

-
-
Once you receive the invite email, log on to Amazon Connect Decisions. See Log on to Amazon Connect Decisions web application .
Using advanced configuration
Advanced configuration allows you to customize your instance by setting your own parameters. To create an Amazon Connect Decisions instance using an advanced configuration of preset parameters, follow these steps.
-
Select Create in advanced setup.
-
The Instance properties page will appear.

-
Enter the following on the Instance properties page:
-
Name – Enter an instance name.
-
Description – Enter a description of your Amazon Connect Decisions instance (e.g., production instance, test instance, etc.).
-
Instance tags – You can add tags to your instance that can be used for identification. For example, you can add a tag to define the type of instance you are creating (e.g., production, test, UAT, etc.).
-
-
Select Create instance.
Deleting an instance
To delete an instance, follow these steps.
Note
When you delete an instance, information from the Amazon S3 bucket is not automatically deleted.
-
Open the Amazon Connect Decisions console at https://console.aws.amazon.com/scn/home
. -
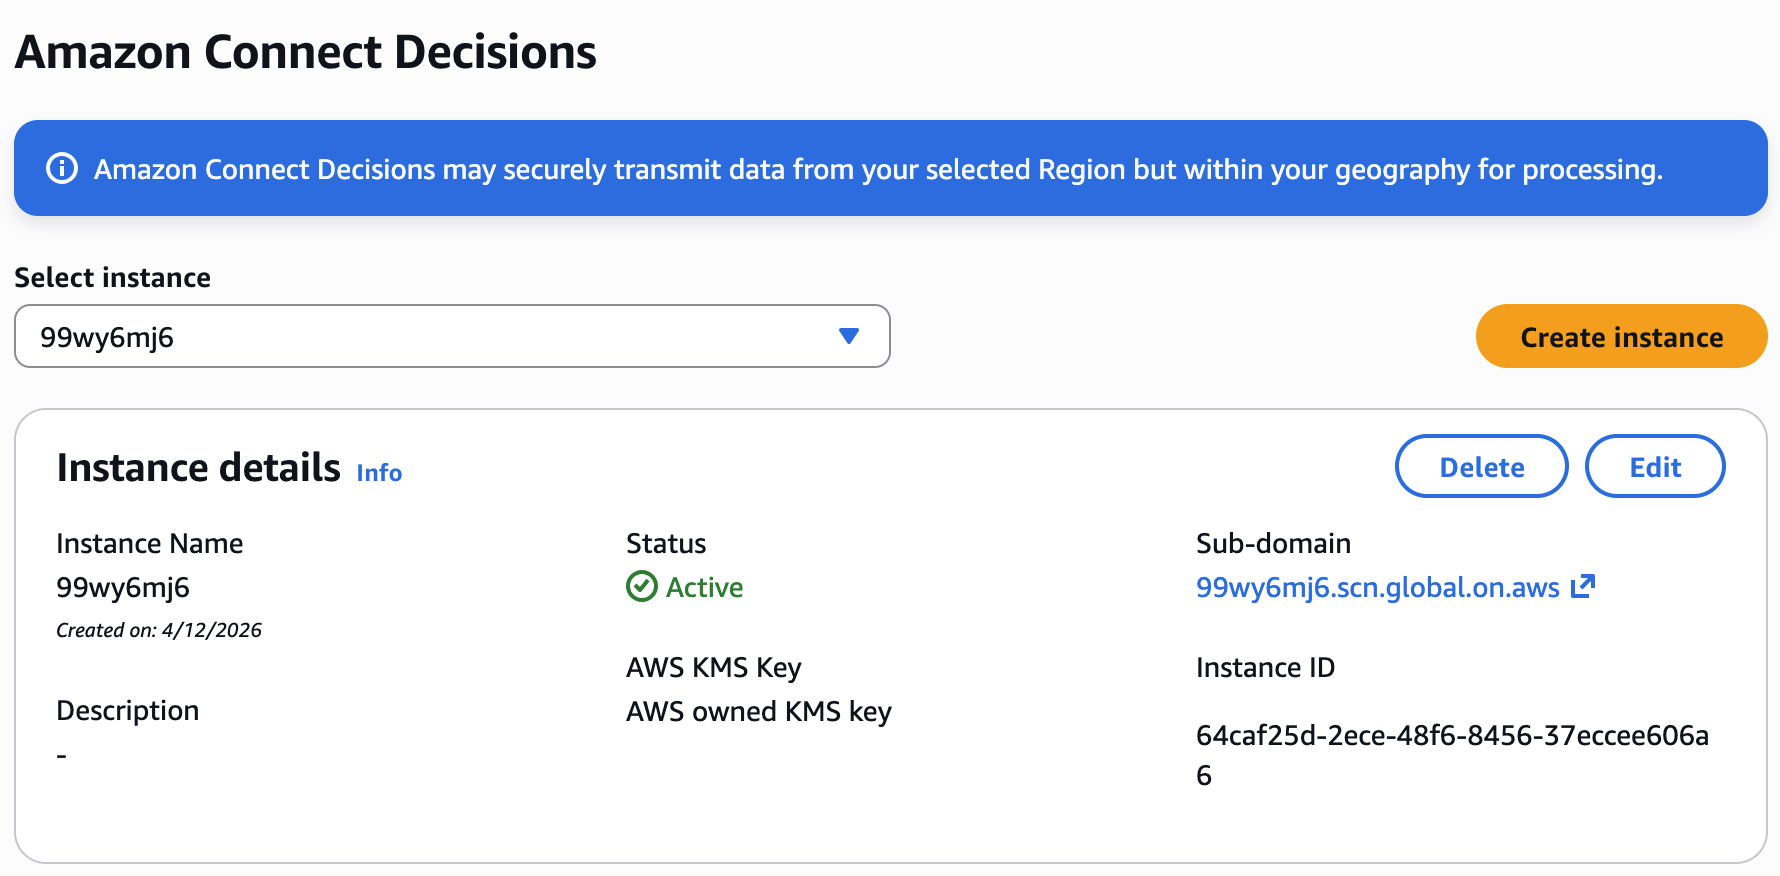
On the Amazon Connect Decisions console dashboard, from the dropdown, select the instance that you want to delete.
-
Choose Delete.
-
On the Delete Amazon Connect Decisions Instance page, under Confirmation, type
deleteto confirm that you want to delete the instance. -
Choose Delete. The instance deletion starts and once the instance is deleted, you will see a confirmation message.
