Basic authentication
You can connect Amazon Q to Confluence (Cloud) using basic authentication credentials. The following procedure gives you an overview of how to configure Confluence (Cloud) to connect to Amazon Q using basic authentication.
Configuring Confluence (Cloud) basic authentication for Amazon Q
-
Log in to your account from the Confluence (Cloud)
. Note the username you logged in with. You will need this later to connect to Amazon Q. -
From your Confluence (Cloud) home page, note your Confluence (Cloud) URL from your Confluence browser URL. For example:
https://example.atlassian.net. You will need this later to connect to Amazon Q. -
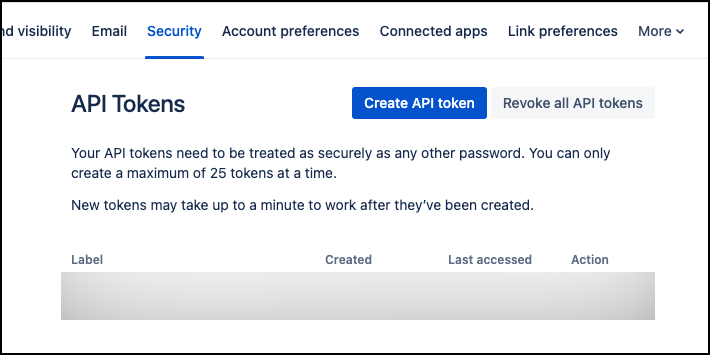
Then, go to Security
page in Confluence (Cloud). -
From the API tokens page, select Create API token.
-
In the Create an API token dialog box that opens, for Label, add a name for your API token. Then, select Create.

-
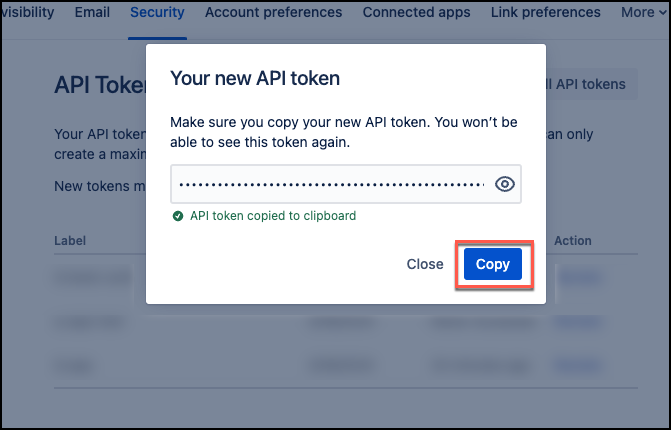
From the Your new API token dialog box, copy the API token and save it in a text editor of your choice. You can't retrieve the API token once you close the dialog box.
-
Select Close.
You now have the username, Confluence (Cloud) URL, and Confluence (Cloud) API token you need to connect to Amazon Q with basic authentication.
For more information, see Manage API tokens for your Atlassian account
Atlassian Admin Authentication
To ensure Amazon Q can access all user and group information from your Confluence (Cloud) instance, you must provide Atlassian admin credentials. These credentials allow Amazon Q to sync user information regardless of individual email visibility settings.
Get your Atlassian admin credentials
-
Sign in to the Atlassian admin portal
with administrator permissions. -
Open the Administration app for your organization. The URL should look like:
https://admin.atlassian.com/o/{ORGANIZATION-UUID}/overview -
Choose Settings, then choose API Keys.
-
Choose Create API key.
-
Select all available scopes for the API key.
Note that the Confluence APIs that fetch user and group information require full scope access.
-
Copy and save both the Organization ID and API Key. Note that API keys expire. Monitor the expiration date and update your data source credentials before the key expires.
Get your Directory ID
-
Use the Atlassian Admin Workspace API to get your Directory ID. Run the following command:
curl --request POST \ --url 'https://api.atlassian.com/admin/v2/orgs/{ORGANIZATION-ID}/workspaces' \ --header 'Authorization: Bearer {API-KEY}' \ --header 'Accept: application/json' \ --header 'Content-Type: application/json' -
In the API response, find the workspace entry that matches your Confluence Cloud instance. Look for
"type":
                                    "Confluence"
. Verify the workspace name matches your instance and then copy the directory value from the attributes section. If your instance isn't listed, use the pagination cursor in thelinks.nextfield to view additional pages.curl --request POST \ --url 'https://api.atlassian.com/admin/v2/orgs/{ORGANIZATION-ID}/workspaces' \ --header 'Authorization: Bearer {API-KEY}' \ --header 'Accept: application/json' \ --header 'Content-Type: application/json' \ --data '{"cursor": "{NEXT-PAGE-TOKEN}"}'
Update your Confluence data source
When creating or updating your Confluence Cloud data source, provide these three values in your AWS Secrets Manager secret:
-
Admin API Key
-
Organization ID
-
Directory ID
For more information about Atlassian admin API scopes, see Atlassian API
scopes documentation
For API details, see Atlassian Admin Workspace API reference
